Quick Answer
The best shed ventilation combines low intake vents (soffit or wall vents) with high exhaust vents (ridge vents or gable vents). For sheds over 150 square feet or in hot climates, add a solar-powered exhaust fan.
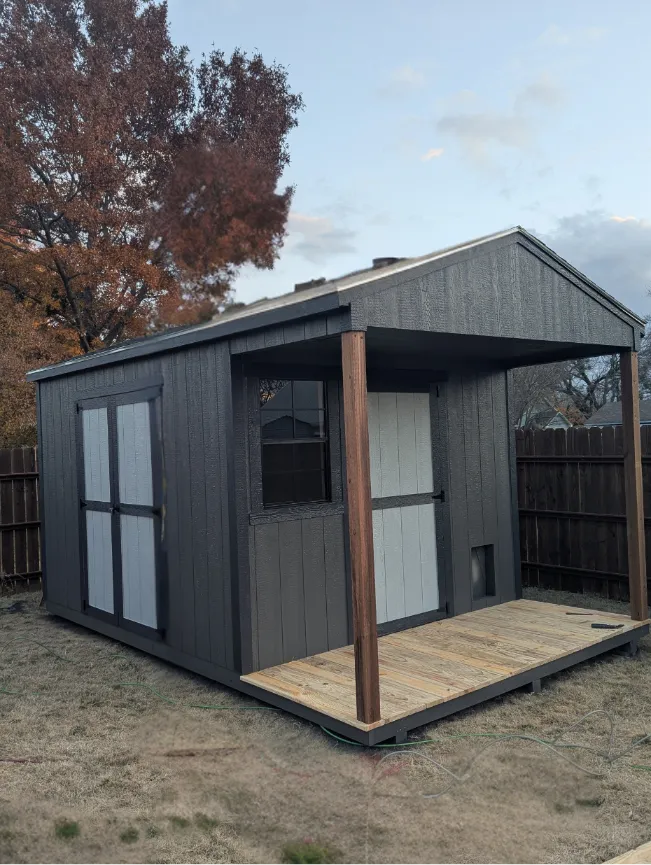
A shed without ventilation is an oven in summer and a moisture trap year-round. Interior temperatures can hit 140°F on hot days. That heat warps plastic, ruins paint and destroys anything moisture-sensitive you've stored inside. Whether you're in Bridgeport, Decatur or anywhere in North Texas, proper ventilation is essential.
Most ventilation guides list options without explaining which ones actually work for your situation. This guide is different. We cover 15 ventilation methods with installation difficulty ratings and specific recommendations based on shed size and use.
Why Shed Ventilation Matters
An unventilated shed has three problems working against it:
Extreme heat buildup. Solar radiation hits your roof and walls. Without airflow, heat accumulates with nowhere to go. On a 95-degree day, interior temperatures regularly exceed 130°F. That's hot enough to melt plastic bins, warp wood and damage electronics or photos.
Moisture and condensation. Temperature swings create condensation. When a blazing afternoon cools down at night, moisture forms on interior surfaces. This happens even in dry climates. Over weeks, this cycle breeds mold and mildew that damages stored items and the shed itself.
Chemical fume accumulation. Fertilizers, pool chemicals, gasoline and paints release fumes. In a sealed space, these fumes concentrate to dangerous levels. Some combinations become explosive. If you store anything volatile, ventilation becomes a safety requirement.
Chemical Storage Warning
Never store gasoline, fertilizers or pool chemicals in an unventilated shed. Fumes accumulate at floor level and can reach explosive concentrations. Install vents low on the walls to sweep these heavier-than-air fumes out.
Proper ventilation solves all three problems. Fresh air enters low, rises as it warms and escapes through high vents. This continuous exchange keeps temperatures closer to ambient, prevents moisture accumulation and clears chemical fumes. For best results, combine ventilation with insulation for complete climate control. Homeowners across North Texas—from Springtown to Denton—deal with these ventilation challenges every summer.
How Much Ventilation Does a Shed Need?
The Formula
1 square foot of ventilation per 150 square feet of floor space. A 10x12 shed (120 sq ft) needs about 0.8 square feet of total vent area—roughly the size of one standard gable vent.
That's the standard calculation. But it assumes moderate climates and basic storage use. Adjust upward for:
When to Double Your Ventilation
Hot climates: Summers above 90°F regularly
Metal sheds: Conduct heat faster than wood
Workshop use: You'll be inside generating heat
Chemical storage: Need aggressive air exchange
Humid regions: More moisture to remove
Sizing Reference by Shed Size
| Shed Size | Minimum Vent Area | Recommended Setup |
|---|---|---|
| Small (under 64 sq ft) | 0.4 sq ft | Two wall vents on opposite ends |
| Medium (64-120 sq ft) | 0.8 sq ft | Two gable vents or ridge vent with soffit |
| Large (120-200 sq ft) | 1.3 sq ft | Ridge vent + soffit vents + turbine |
| Extra Large (200+ sq ft) | 1.5+ sq ft | Solar fan + ridge vent + soffit vents |
15 Shed Ventilation Methods Compared
Not every ventilation method works equally well. Some are inexpensive and effective. Others look good on paper but underperform in practice. Here's how each option actually holds up.
1 Gable Vents
Triangular or rectangular vents mounted in the peaked wall sections at each end of your shed. Position one at each gable end and breezes pass straight through, creating natural cross-ventilation without any power or moving parts.
Installation is straightforward. Trace the vent outline, cut the opening with a jigsaw, fit the vent and seal edges with exterior caulk. Built-in screens keep insects out. Most homeowners complete this in under an hour with basic tools.
Advantages
- Inexpensive and available everywhere
- No power required
- Works 24/7 automatically
- Very DIY-friendly
- Many sizes and styles available
Limitations
- Limited airflow on still days
- Cannot close during storms
- May allow dust infiltration
2 Ridge Vents
Continuous vents running along your roof's peak, hidden beneath a cap that sheds water while allowing hot air to escape. Heat rises, so ridge vents sit exactly where exhaust needs to happen. Paired with soffit vents below, they create powerful passive airflow.
This is the top recommendation for new shed builds. Continuous venting along the entire ridge creates massive exhaust capacity. Even on windless days, temperature differential alone drives significant airflow through the stack effect. Ridge vents work especially well with metal roofing due to the material's heat conductivity.
Advantages
- Maximum exhaust at hottest point
- Invisible from ground level
- No moving parts to fail
- Works in all weather conditions
- Even ventilation across entire roof
Limitations
- Harder to retrofit on existing sheds
- Requires soffit vents to work properly
- Heavy snow can block temporarily
3 Solar-Powered Exhaust Fans
Self-contained units mounting on your roof or gable, running entirely on integrated solar panels. When sun heats your shed, it simultaneously powers the fan pulling that heat out. No wiring. No electric bills. Automatic cooling when you need it most.
For existing sheds needing more airflow, solar fans are transformative. Expect 20-30 degree temperature drops after installation. Better units include thermostats that kick on automatically above certain temperatures. Most pay for themselves in protected belongings within one summer.
Advantages
- Free operation after purchase
- Automatic—runs when needed
- Moves serious air volume
- No electrical hookup required
- Thermostat options available
Limitations
- Reduced output on cloudy days
- Moving parts eventually wear
- Higher initial investment
4 Soffit Vents
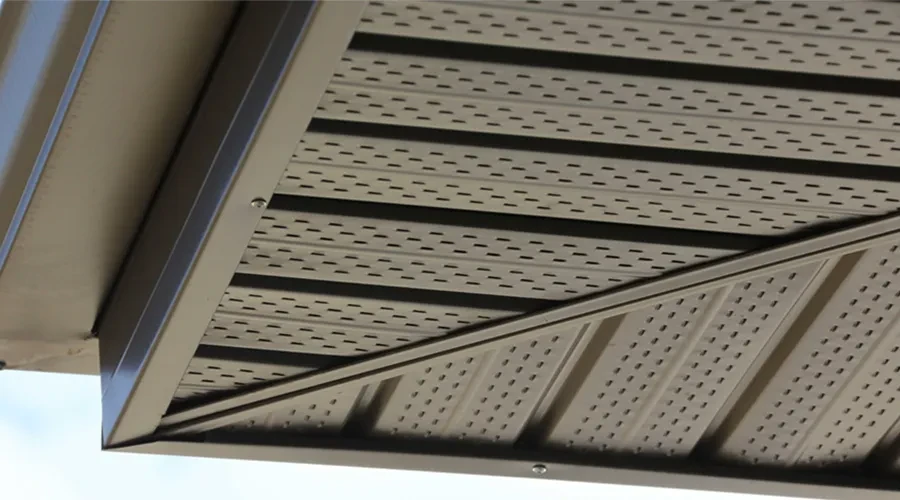
Vents installed in the underside of roof overhangs. They draw cool outside air into the space while hotter air exhausts through ridge or gable vents above. This creates continuous natural circulation—what HVAC professionals call convective loop ventilation.
Soffit vents are essential if you're running ridge vents. Without low intake points, ridge vents create negative pressure that pulls in dust through gaps and cracks. Soffits complete the system properly with clean intake air from protected locations.
Advantages
- Hidden and weatherproof location
- Essential for ridge vent systems
- Distributes intake evenly
- Protected from rain
Limitations
- Requires existing overhang
- Can attract wasps
- Ideally spans full length
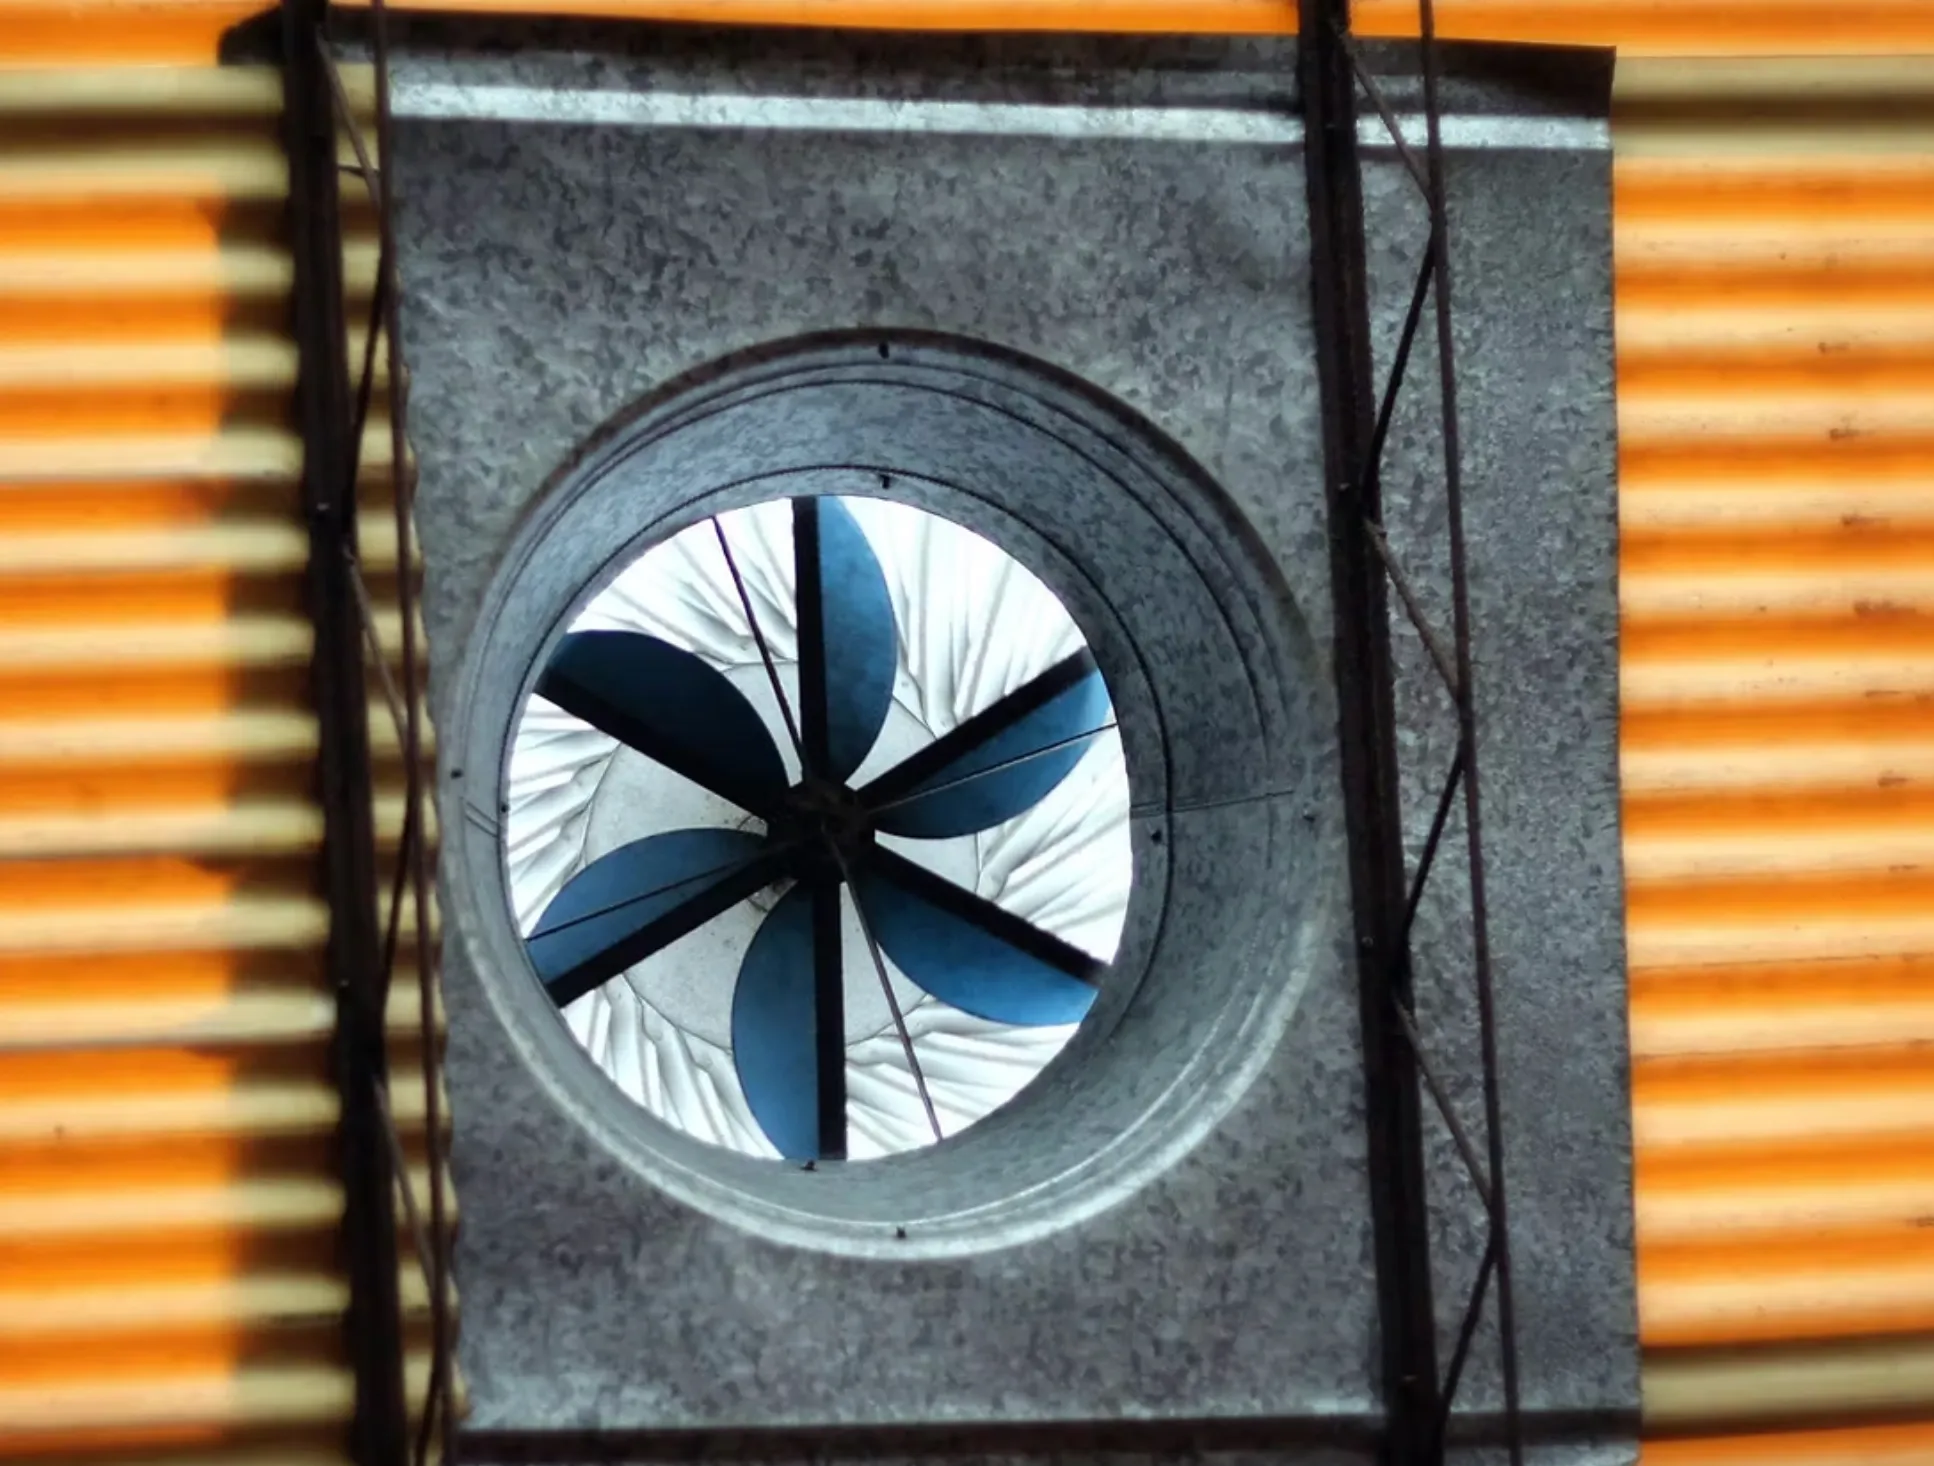
5 Turbine Vents (Whirlybirds)

Those spinning metal globes on rooftops—turbine vents—use wind power to actively pull air from inside. Even light breezes spin the turbine and create suction. Completely passive once installed, surprisingly effective when wind blows.
Turbines excel in breezy areas. A 12-inch turbine can move 350+ CFM in moderate wind. The catch? Stagnant air during heat waves when you need ventilation most. Consider turbines as supplements to other methods rather than your primary system.
Advantages
- Free operation forever
- Moves significant air volume
- Works in all seasons
- Very durable construction
Limitations
- Useless without wind
- Can squeak when bearings wear
- Visible on roofline
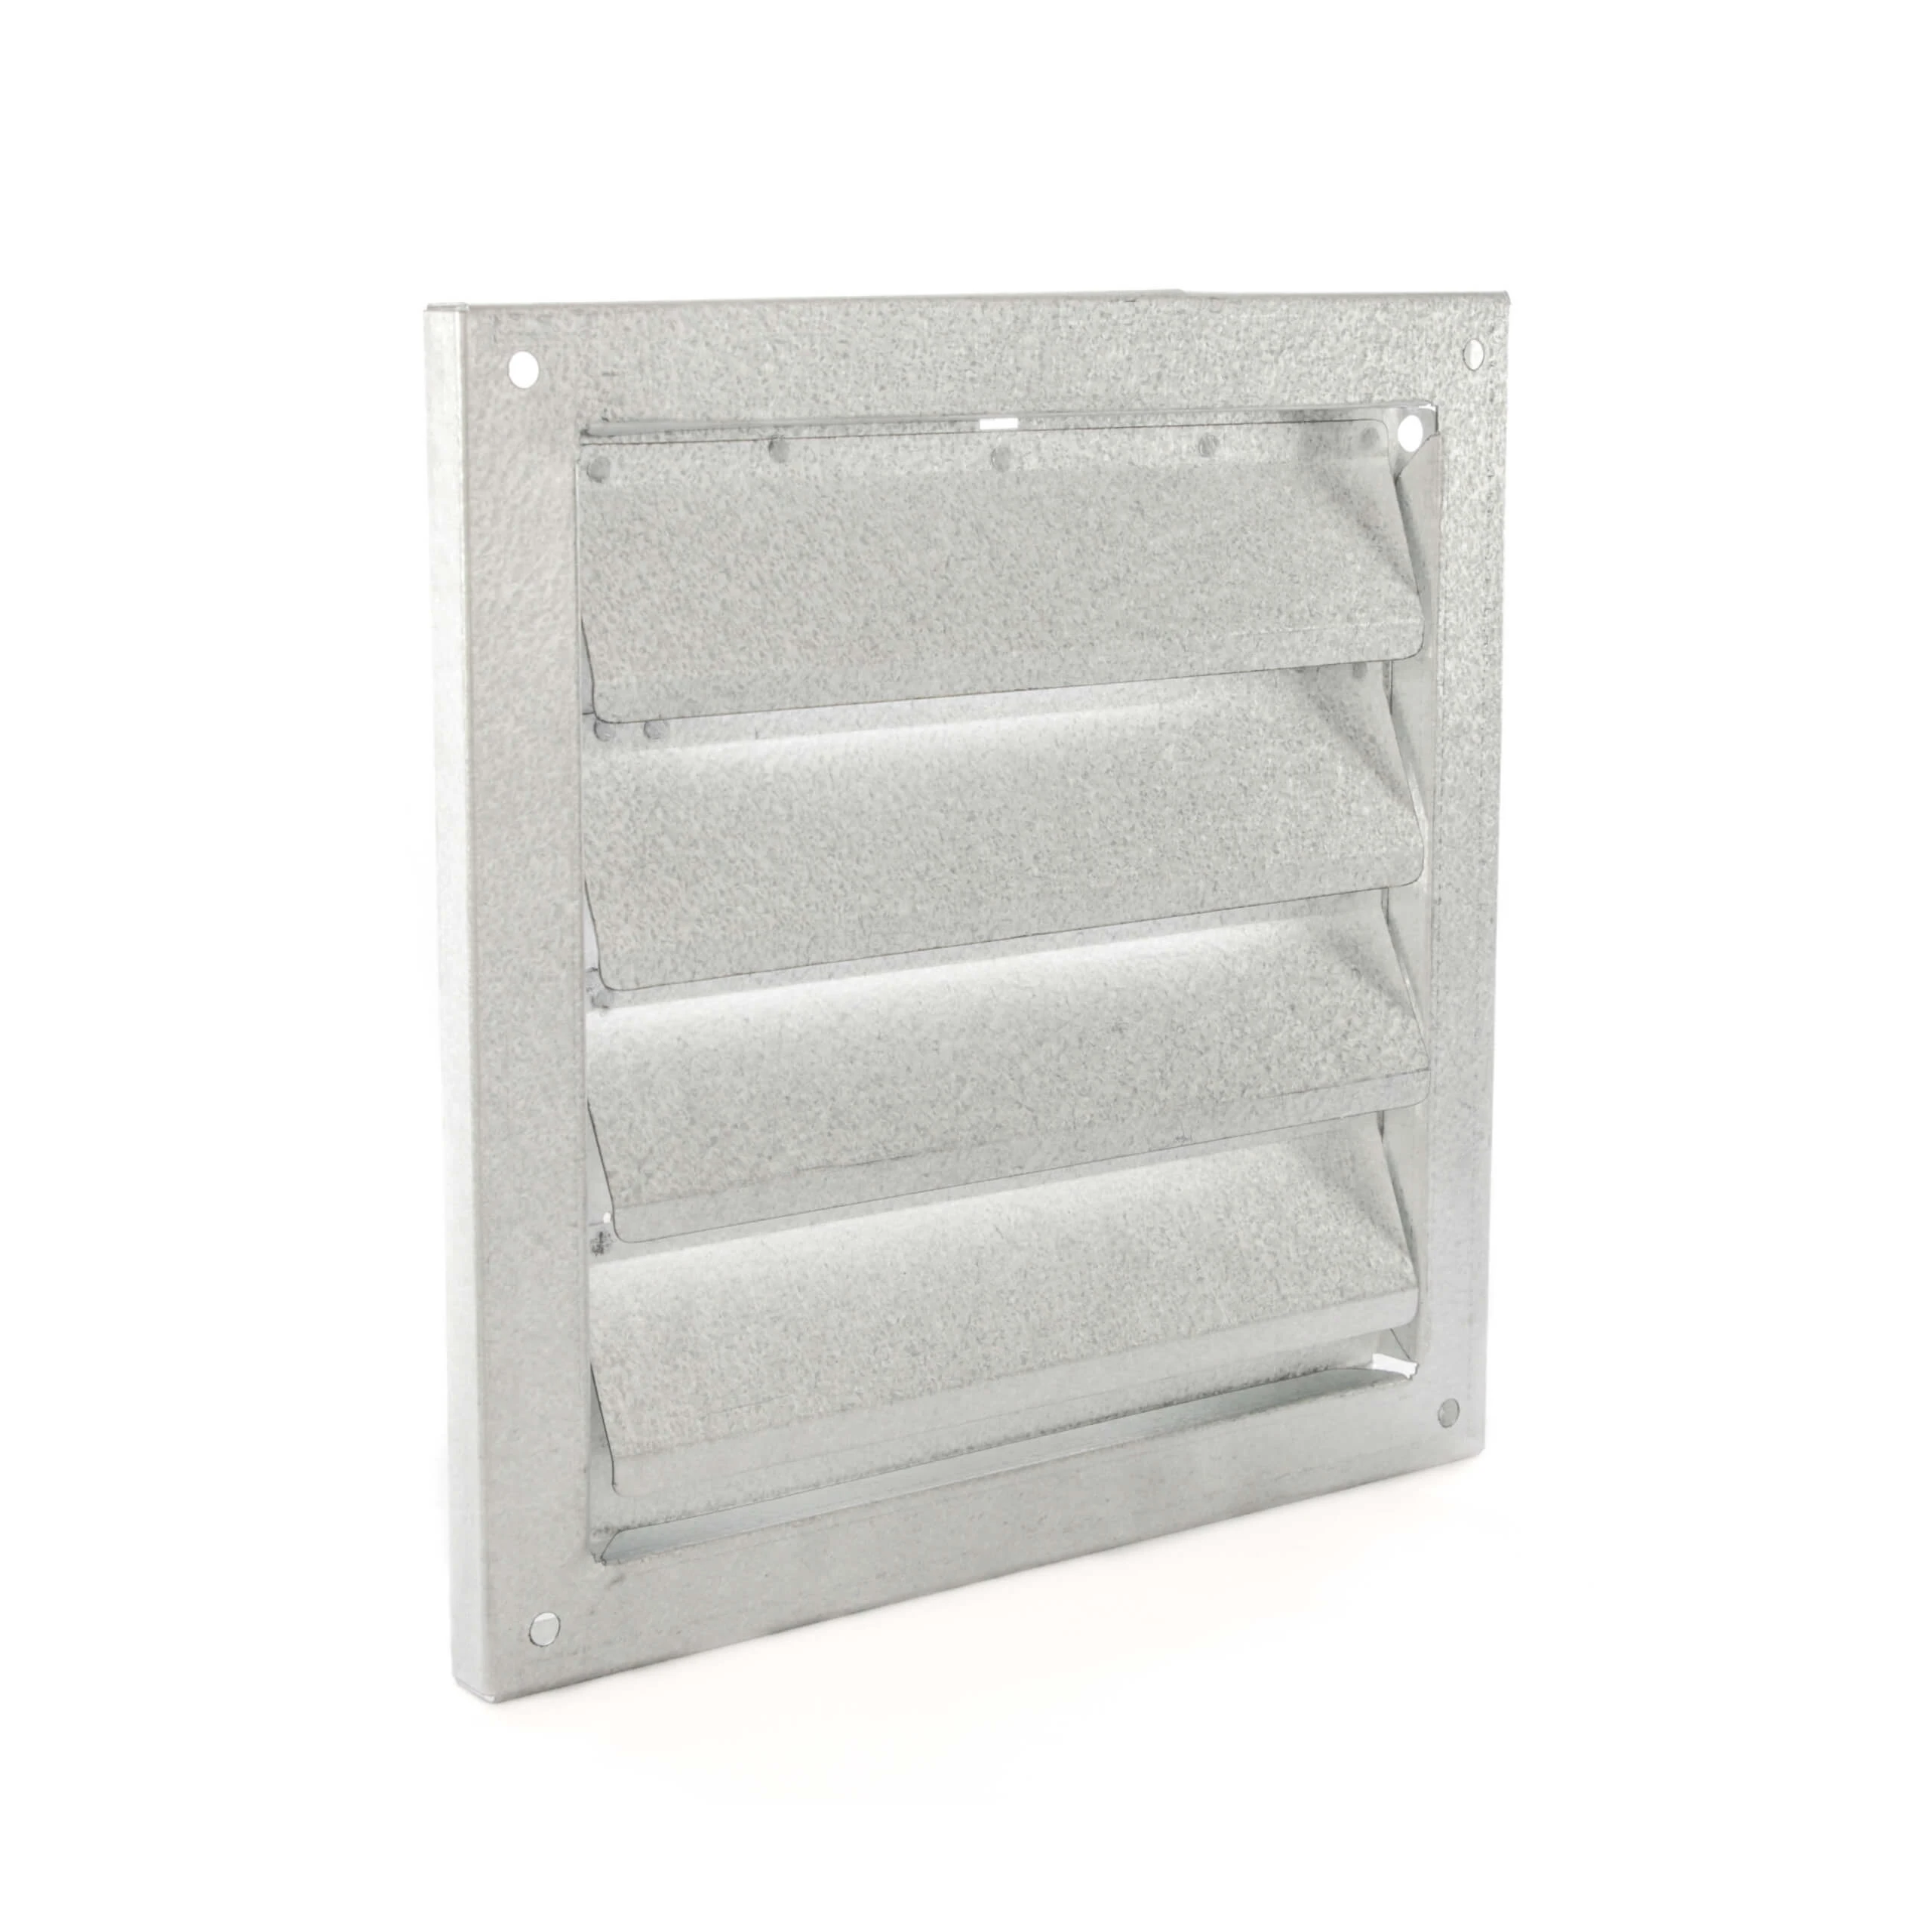
6 Wall-Mounted Louvered Vents
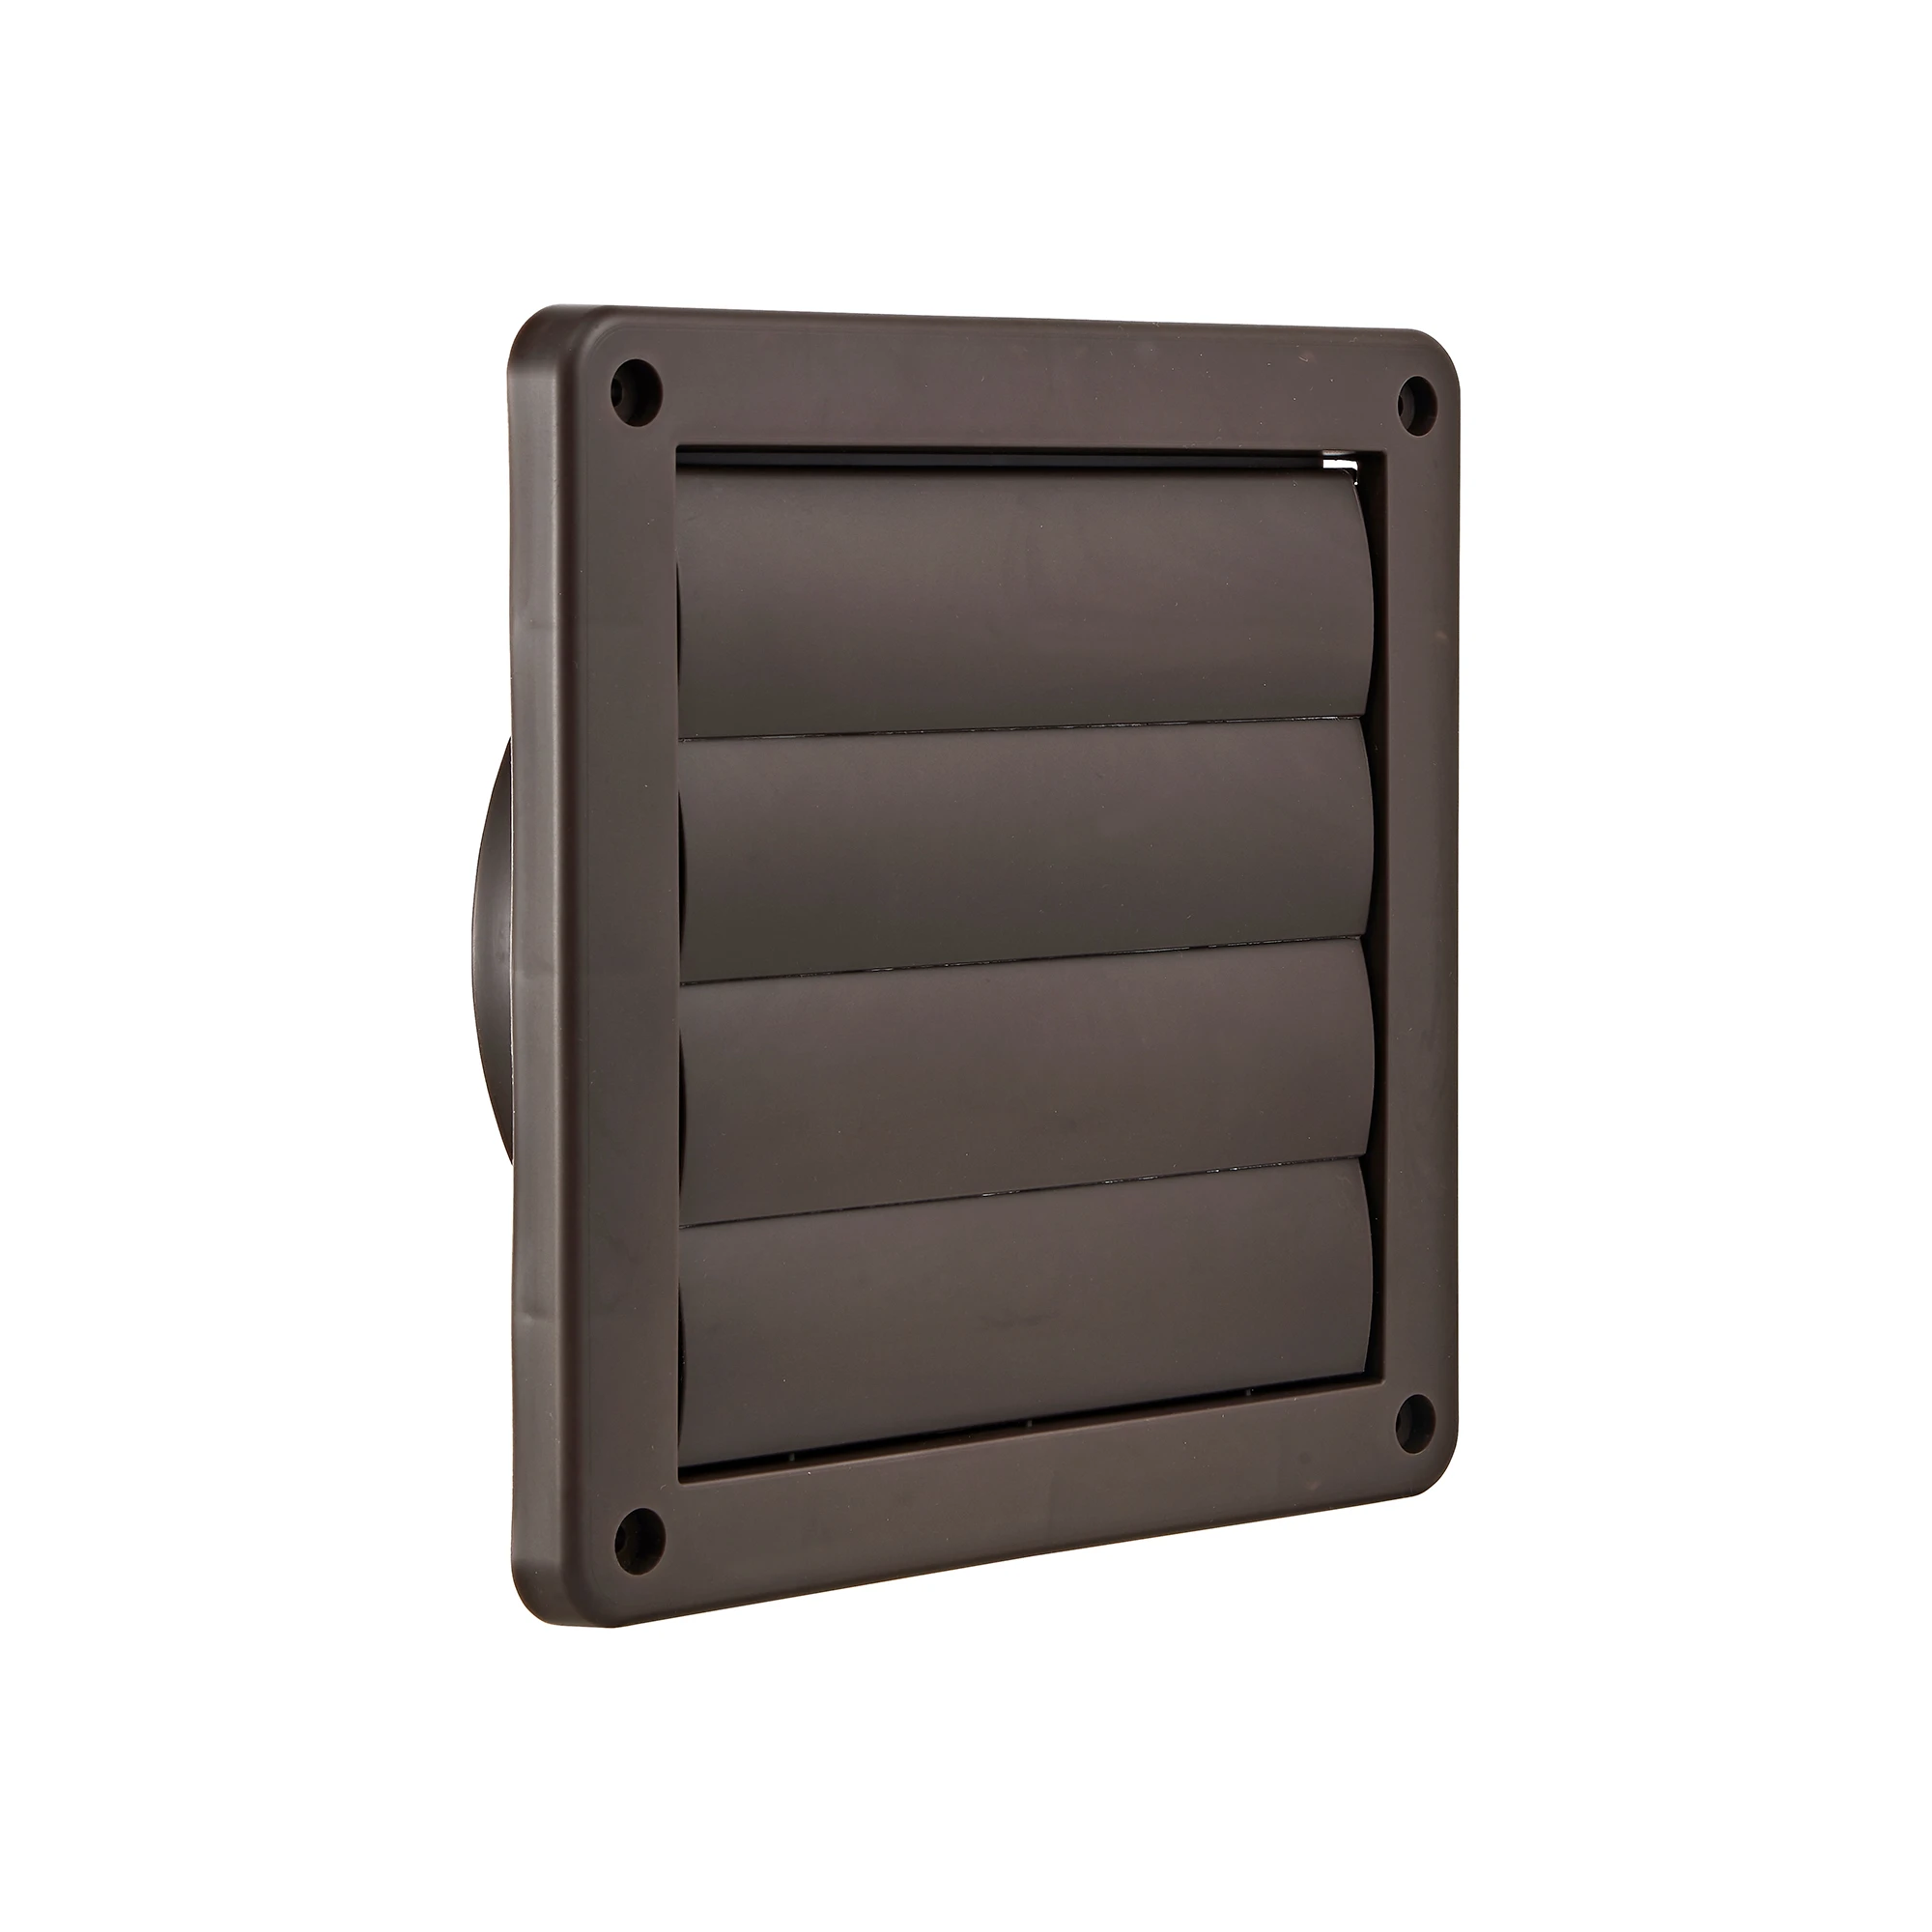
Simple rectangular vents with angled slats allowing airflow while shedding rain. Mount directly into shed walls—typically high on one side, low on the opposite—to encourage vertical air circulation. Nothing fancy. They just work.
Wall vents alone rarely provide sufficient airflow for hot climates. Use them as supplemental intake or exhaust points alongside more robust primary ventilation. They're cheap and fast to install, so adding extras doesn't hurt.
Advantages
- Very affordable
- Anyone can install
- Many sizes available
Limitations
- Limited airflow capacity
- Can admit rain in storms
- No way to close them
7 Operable Windows
A window that opens provides excellent ventilation plus natural light. Position on opposite walls for cross-ventilation. Close during dust storms or when security matters. Windows offer control and flexibility no vent can match.
Slider windows work particularly well in sheds—affordable, don't swing outward into walkways, easy to operate. For ventilation purposes, make sure whatever window style you choose actually opens. Fixed pane windows add light but zero airflow.
Advantages
- Controllable—open or close as needed
- Adds natural light
- Can close for weather and security
- Improves shed appearance and value
Limitations
- Requires manual operation
- Takes wall space from storage
- Security consideration if glass
8 Powered Gable Fans
Electric fans mounting behind gable vents, actively exhausting hot air. Many include thermostats—the fan kicks on at a temperature setpoint and shuts off when things cool. Consistent high-volume airflow regardless of weather.
If your shed has electricity, powered fans deliver reliable climate control. The thermostat feature is particularly valuable—automatic operation without thinking about it. Running costs are minimal. A typical unit uses less power than a 60-watt bulb.
Advantages
- Consistent high airflow
- Automatic thermostat control
- Works regardless of weather
- Very energy efficient
Limitations
- Needs electrical hookup
- Moving parts can fail
- Installation complexity
9 Roof Box Vents (Turtle Vents)
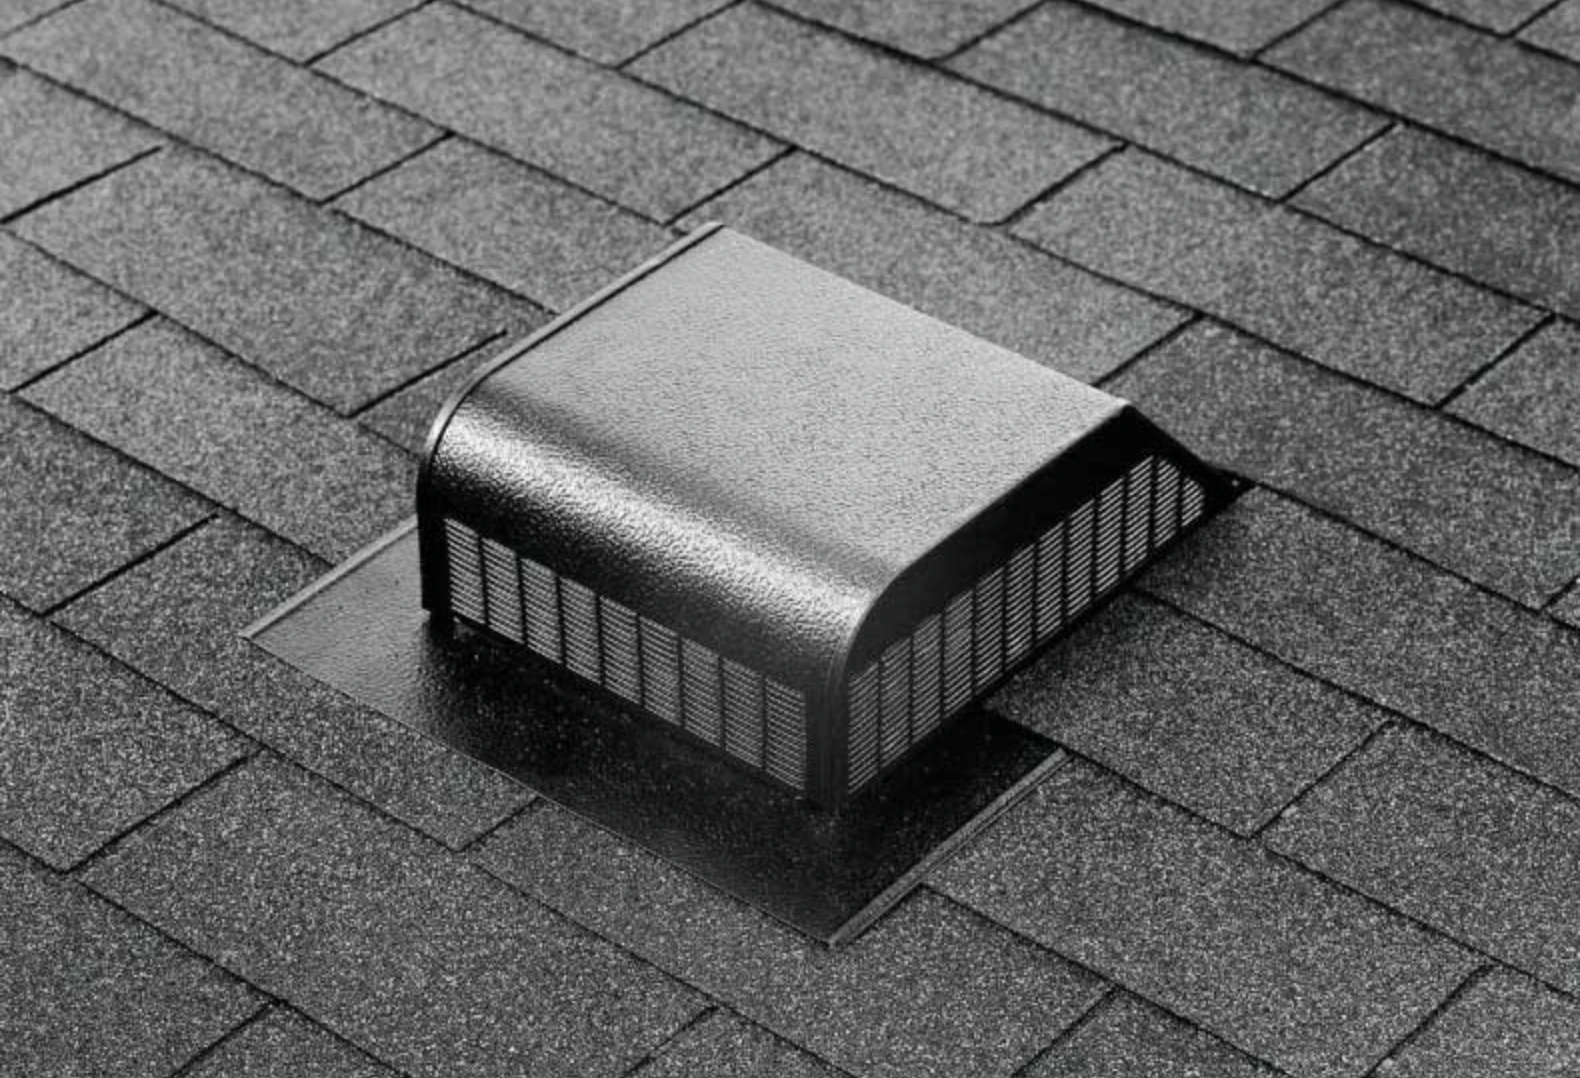
Low-profile metal boxes sitting near the roof ridge providing passive exhaust. Called turtle vents because of their shape. Nothing glamorous, but they've been standard on residential construction for decades because they simply work.
Each turtle vent has limited capacity, so you typically need several. Installation involves cutting a hole, sliding the flashing under surrounding shingles and sealing everything. Not difficult if you're comfortable working on a roof.
Advantages
- Low profile appearance
- Simple and reliable
- No maintenance required
Limitations
- Need multiple units
- Roof penetration required
- Less effective than ridge vents
10 Vented Skylights
Skylights that open provide both ventilation and abundant natural light. Hot air rises directly up and out while illuminating your workspace below. For sheds used as workshops or studios, this combination is hard to beat.
The downside? Complexity. Cutting your roof and properly flashing a skylight takes real skill. Leaks are common when installation goes wrong. Unless you're confident in your abilities or hiring a pro, consider simpler options.
11 Foundation Vents
For sheds on raised foundations with crawl spaces, foundation vents prevent moisture accumulation beneath the floor. They don't ventilate the interior directly but protect the structure from ground moisture causing rot and mold.
Ground moisture migrates upward into floor framing and stored items. Foundation vents are cheap insurance against structural damage. Every raised shed should have them—typically one vent per 150 square feet of floor area.
12 Cupolas
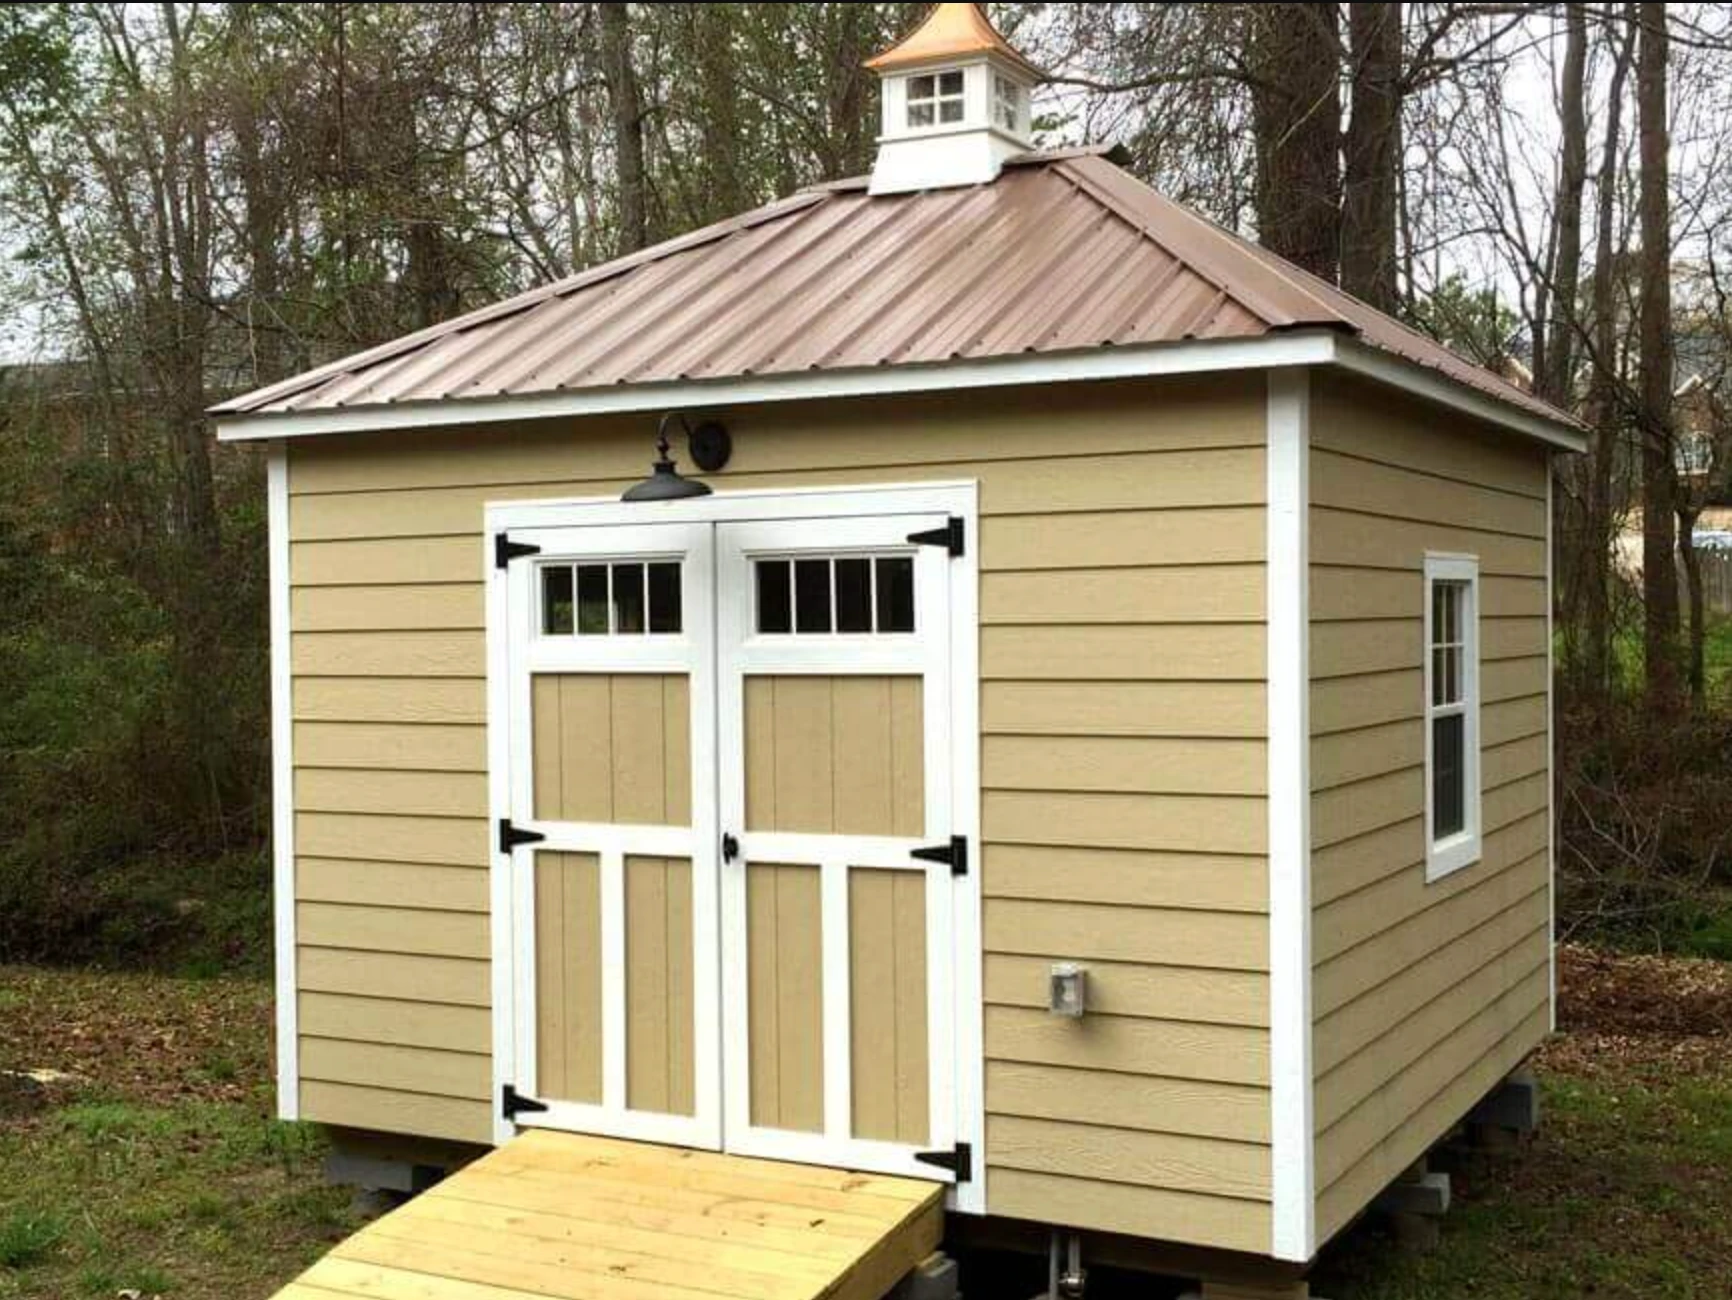
Those decorative structures atop barns and carriage houses. Beyond looking sharp, functional cupolas include louvers exhausting hot air from directly below the roof peak. Curb appeal plus genuine ventilation performance.
A properly sized cupola exhausts significant air volume and looks intentional rather than afterthought. Just verify the cupola actually vents and isn't purely decorative—some manufacturers sell non-functional versions.
13 Automatic Vent Openers
Clever devices attaching to existing windows or vents, opening them automatically based on temperature. No electricity needed—wax cylinders expand when heated and contract when cooled. Set them and forget them.
Greenhouse growers have used these for years. They work great on shed windows too. The mechanism opens around 60-70°F and fully extends by 90°F. As temperatures drop at night, windows close automatically.
14 Louvered Doors
Replacing a solid shed door with a louvered version—or adding louvers to an existing door—provides substantial ventilation right where you access the shed. Some designs allow closing off airflow when desired.
Security is the obvious concern. Louvers create visibility into your shed and potentially weak points. Best for low-security applications or when paired with interior storage solutions.
15 Floor Vents
Vents installed directly in the shed floor, drawing in cool air from beneath while hot air exits through high vents. Only works with raised sheds. Creates excellent bottom-up airflow pattern.
Particularly valuable for chemical storage since many fumes are heavier than air and accumulate at floor level. Floor vents sweep these out before concentrations build. Pair with high exhaust vents for complete circulation.
Best Ventilation Combinations by Shed Type
Single vents help. Proper combinations transform your climate control. Here's what we recommend based on how you use your shed:
| Shed Use | Primary System | Add-On Recommendation |
|---|---|---|
| Basic Storage (under 100 sq ft) |
Two gable vents on opposite ends | — |
| Medium Storage (100-150 sq ft) |
Ridge vent + continuous soffit | One turbine vent |
| Large Storage (150+ sq ft) |
Solar exhaust fan | Gable vents + soffit vents |
| Workshop / Studio | Powered gable fan with thermostat | Operable windows + wall vents |
| Chemical Storage | Continuous powered exhaust | Low floor vents + high exhaust |
| Hot Climate / Metal Shed | Solar fan + ridge vent | Turbine vent + wall vents |
Installation Tips That Save Headaches
Seal Every Opening Properly
Weather drives rain sideways. Water will find any gap around your vents. Use quality exterior caulk—polyurethane or silicone-based products—around every flange. Cheap acrylic caulk dries out within two years. Spend a few extra dollars now.
Screen Against Pests
Every opening becomes a potential entrance for wasps, mud daubers and mice. Hardware cloth works better than standard window screen. Attach it behind the vent where it's hidden but blocking determined invaders. Check screens annually.
Balance Intake and Exhaust
The most common mistake is installing all exhaust vents without corresponding intake. Your shed needs both. Rule of thumb: intake area should roughly equal or slightly exceed exhaust area. Too much exhaust creates negative pressure pulling air through gaps.
Position Vents Strategically
Place intake vents low (soffits, low wall vents) and exhaust vents high (ridge, gable, roof vents). Heat rises, so this arrangement works with natural convection. Placing all vents at the same height short-circuits airflow.
Consider Prevailing Winds
In most US locations, summer winds come from the south or southwest. Position intake vents on the windward side and exhaust on the leeward side when possible. Wind will push air through rather than against your system.
Troubleshooting Common Ventilation Problems
Shed still gets too hot
You likely need more ventilation capacity or active exhaust. Add a solar fan or second turbine vent. Check that existing vents aren't blocked by storage inside. Verify you have adequate intake—exhaust vents can't work without incoming air.
Condensation on walls and ceiling
Temperature swings plus inadequate airflow. Ensure vents are actually open—some louvered vents have adjustable blades that get closed. Add more ventilation to increase air exchange. In humid climates, consider a small dehumidifier.
Vents letting in rain
Louvers should angle downward and outward to shed water. If rain enters during storms, install a rain collar or hood above the vent. Check caulking around flanges—even small gaps allow water intrusion.
Wasps nesting in vents
Install fine hardware cloth behind vent openings. Standard window screen often isn't sufficient—wasps squeeze through surprisingly small gaps. Quarter-inch hardware cloth blocks them while maintaining airflow.
Dust accumulating inside
You may have negative pressure—more exhaust than intake. Add intake vents. Also ensure intake vents aren't facing dusty areas like gravel driveways. Consider automotive air filter material behind intake vents in very dusty locations.
Powered vent not running
Check thermostat settings—fan may not activate until temperatures exceed the setpoint. For solar fans, verify the panel isn't shaded during peak sun hours. Test electrical connections for powered units. Motors do eventually wear out and need replacement.
Frequently Asked Questions
The standard rule is 1 square foot of ventilation per 150 square feet of floor space. A 10x12 shed (120 sq ft) needs roughly 0.8 square feet of total vent area—about the size of a standard gable vent. Double this calculation for hot climates, metal sheds or chemical storage.
Yes—more than wood sheds. Metal conducts heat efficiently, causing interior temperatures to reach 150-160°F in summer. Metal also promotes condensation when temperatures drop. Add vents to any metal shed regardless of what the manufacturer claims about construction.
The best approach combines intake and exhaust vents. For most sheds, ridge vents paired with soffit vents provide excellent passive airflow. For larger sheds or hot climates, add a solar-powered exhaust fan for active cooling without electricity costs.
Absolutely. Gable vents, ridge vents, soffit vents, turbine vents and windows all provide passive ventilation without power. Solar-powered fans run entirely on sunlight with no electrical hookup needed—they're ideal for sheds without electrical service.
Don't close them completely. Some airflow prevents condensation problems even in winter. If you have adjustable vents or windows, partially close them during cold snaps. Keep at least one-third of your ventilation open year-round to maintain air quality and prevent moisture.
Practically speaking, no. The only genuine concerns are security (more openings mean more potential entry points) and possibly driving rain entry in severe storms. For most situations, more ventilation is better than less.
Install fine mesh screen behind every vent opening. Standard window screen isn't always sufficient—wasps squeeze through surprisingly small gaps. Hardware cloth with 1/4-inch openings blocks wasps while allowing airflow. Check screens annually and replace any with damage.
Chemical storage requires aggressive ventilation with specific placement. Install intake vents low on walls and exhaust vents high. Many fumes are heavier than air and accumulate at floor level—low intakes help sweep these out. Consider continuous powered exhaust for significant quantities of fertilizers, pool chemicals or fuels.
Yes. Condensation forms when humid air contacts surfaces cooler than the dew point. Ventilation replaces humid interior air with drier outside air, preventing moisture accumulation. Ensure you have both intake and exhaust creating actual air movement—not just static openings.
Final Recommendations
Every shed needs some ventilation. The exact system depends on your climate, shed size and how you use the space. Start with the basics if you have nothing now—two gable vents on opposite ends takes an hour to install. Then add more aggressive options as needed.
For most situations, we recommend this approach:
Universal Recommendation
Minimum: Gable vents on opposite ends or ridge vent with soffit vents
Better: Add a turbine vent or solar fan for active exhaust
Best: Complete system with powered thermostat-controlled exhaust
The time investment is minimal compared to what you're protecting. Proper ventilation prevents damage to stored items and the shed itself. Your shed can stay cool and dry. It just needs to breathe. For complete protection against Texas weather, also consider storm-resistant upgrades.
Ready for a Shed That's Built Right?
SE Yard Solutions builds custom sheds with proper ventilation designed in from day one. No retrofitting needed.
Get Your Free Quote