Ever walked around your yard and wondered, "Where would a shed actually work best?" It's not just about open space—it's about finding a spot that makes your shed useful, protected and easy to access day after day. Homeowners across Fort Worth, Denton and North Texas ask us about location planning all the time.
Whether you're planning a tool storage space, a hobby workshop, or a quiet backyard retreat, the location you pick can make or break the whole project. From water drainage and sunlight to ground slope and local codes, there's more to consider than meets the eye.
This guide will walk you through the key things to look for so you can confidently choose a shed location that fits your yard, your needs and your everyday life.
Evaluate Your Yard's Terrain
The ground under your shed is the foundation of its durability. Look for a spot that's mostly level to avoid extra work, as slopes or uneven patches can cause shifting or water buildup. If your yard isn't perfectly flat, don't worry—on-site construction can use piers or gravel bases to level things out, but starting with flatter ground keeps things simple. Customers in Rhome and Azle often have sloped properties and we work with the terrain.
Check how water flows in your yard after rain. Steer clear of low spots where puddles form—these can rot wood or weaken the base. A slightly raised area or one with natural drainage, like a gentle slope, keeps your shed dry and stable.
Prioritize Easy Access
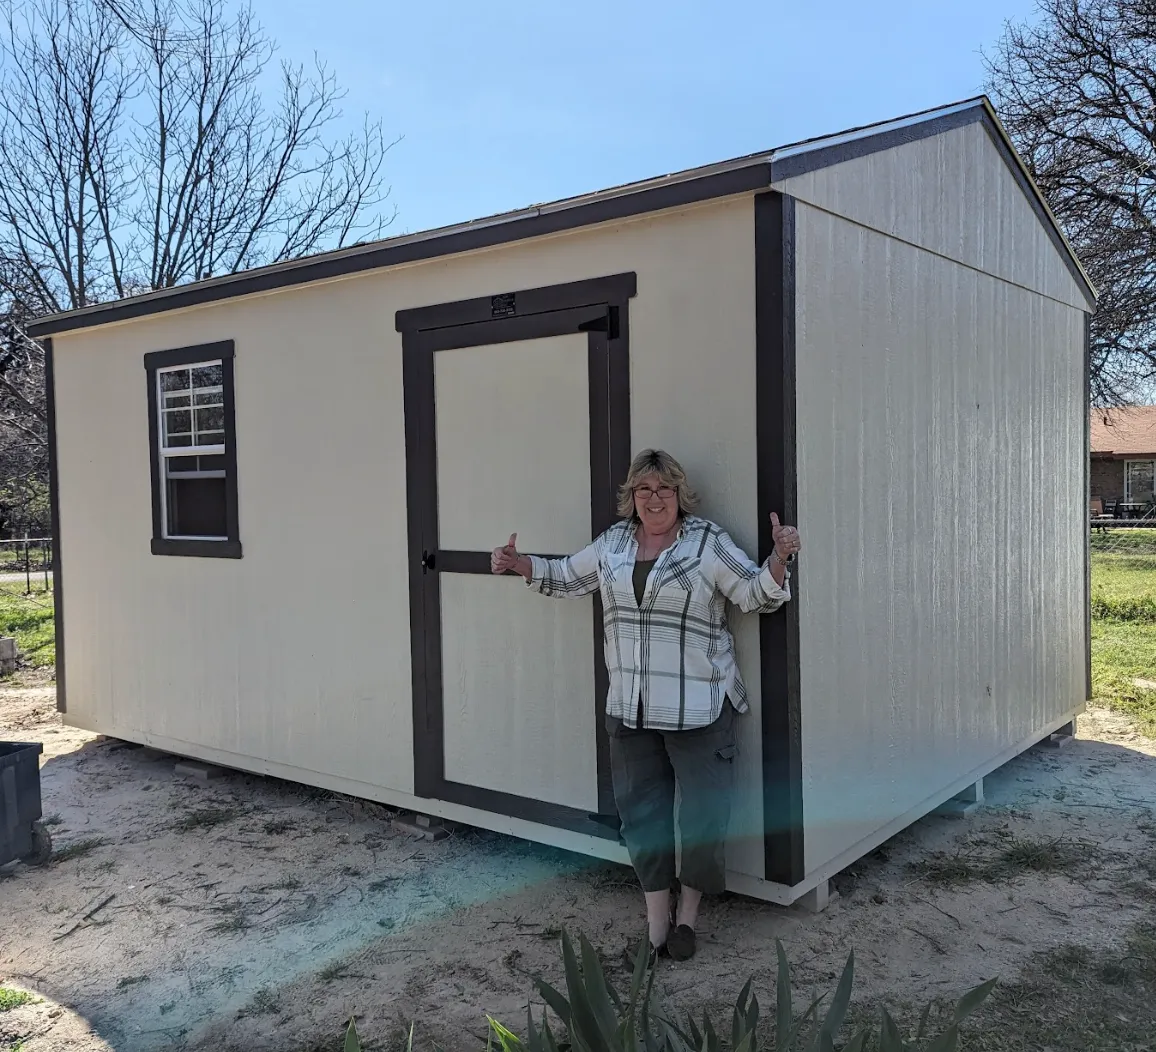
Think about how you'll use your shed daily. If it's for gardening tools or heavy equipment, place it near a pathIn urban Texas where backyards are often small space is a valuable resource. See our guide to narrow backyard solutions for more tips. there's 2–3 feet of space around the shed for cleaning or repairs and keep the path to it clear for wheelbarrows or mowers.
For example, one homeowner set their shed near their vegetable garden, making it a quick trip to grab tools. Picture your routine—whether it's hauling supplies or sneaking away for a hobby—and choose a spot that feels effortless to reach.
Check Local Zoning and Permits
Before you pick a spot, dig into local rules. Many areas require sheds to sit 5–10 feet from property lines, fences, or your house and some limit size or height. Homeowners' associations might have extra restrictions, like design or placement guidelines.
Call your local zoning office to confirm permit needs. A good builder can walk you through these rules, ensuring your shed's location avoids fines or forced moves. Getting this sorted early keeps your project smooth.
Balance Sunlight and Shade
Your shed's exposure to sun and shade affects its comfort and lifespan. Too much sun, especially in hot places like Texas, can overheat the interiorA solid base, such as gravel or a concrete pad, enhances stability and prevents moisture damage. Our guide to foundation and flooring options covers the best choices.ncourage mold. A spot with morning sun and afternoon shade often strikes the right balance.
If you're using the shed for work or hobbies, natural light is a plus. One client placed their shed under a tree for shade but added windows for brightness, creating a perfect workspace. Think about how light hits your yard to find a spot that's just right.
Match Your Property's Look
A shed should feel like it belongs in your yard, not like an afterthought. Place it where it complements your home or garden—near flowerbeds for a garden shed or by the garage for a workshop vibe. Hiding it behind shrubs or a fence works if you want it low-key, while a bold spot suits a stylish A-frame or barn shed.
Consider what you see from your house or street. A shed that blends with your home's colors or style boosts curb appeal. One homeowner tucked their shed behind a hedge, keeping their yard open while adding function. Customers in Bridgeport and Decatur often position their sheds as attractive property features.
Plan for Utilities and Features
If your shed needs electricity, lighting, or water, pick a spot near existing utilities to cut installation costs. Keep it safely away from overhead power lines—10–15 feet is a standard rule. Think ahead to features like solar panels or a rain barrel, which need roof space or open ground nearby.
For example, a shed with outlets for tools is easier to wire if it's closer to your home's power source. Planning for these now makes adding upgrades later a breeze, keeping your shed versatile.
Test Your Chosen Spot
Before breaking ground, test your location. Use stakes or string to mark the shed's footprint and walk around it to ensure it fits without crowding your yard. Try the path from your house to the spot to confirm it's convenient and check after rain to spot any drainage issues.
One client staked out a spot only to find it blocked a favorite view. Shifting it a few feet fixed the problem while keeping access easy. This simple step catches issues before they become costly mistakes. Contact us for a free site evaluation.
Conclusion
Finding the perfect spot for your shed sets the stage for a space that's functional, durable and a joy to use. By weighing terrain, access and local rules, you can place your shed where it shines—both practically and visually. A well-chosen location protects your investment from weather woes and fits your daily life, whether you're storing tools or crafting a retreat.
Walk your yard, test your ideas and picture how your shed will enhance your space. Your ideal shed spot is waiting—start exploring it today.
Ready to Find the Perfect Spot?
SE Yard Solutions builds custom sheds on-site throughout North Texas—exactly where you need them.
- See Our Work - Examples of well-placed sheds
- Financing Options - Make your project affordable
- Get a Free Quote or Call (682) 730-2238
Frequently Asked Questions
How close can my shed be to my property line?
Most areas require sheds to be 5–10 feet from property lines or fences, but rules vary. Check with your local zoning office or HOA to avoid surprises. Contact SE Yard Solutions for help navigating local regulations to find the perfect spot.
What if my yard has uneven terrain?
Slightly uneven ground can be handled with adjustable foundations like piers or gravel. Pick a spot with minimal slope for easier setup, but skilled builders can level most terrains for a stable shed.
Is full sun or shade better for a shed?
A mix of sun and shade prevents overheating and moisture buildup. Partial shade from trees or your house protects materials and keeps the interior comfortable. Contact SE Yard Solutions to find a location that suits your climate.
Can I relocate my shed later?
Moving a shed is possible but can be expensive, especially with a fixed foundation. Choosing the right spot upfront saves time and money. A builder can help you test locations for long-term fit.
How do I check for good drainage?
Watch your yard after rain to avoid spots where water pools. Elevated or gently sloped areas work best to keep your shed dry. A gravel or pier foundation can further improve drainage.